Creating Complex Shape Animations
- Amy Johnson
- Sep 7, 2022
- 2 min read
Updated: Sep 9, 2022
I wanted to learn how to generate some interesting animations using 3D shape meshes, I decided to go through Skillshare and find a tutorial that I could follow (Landed on Smeaf Sculpts 3D)
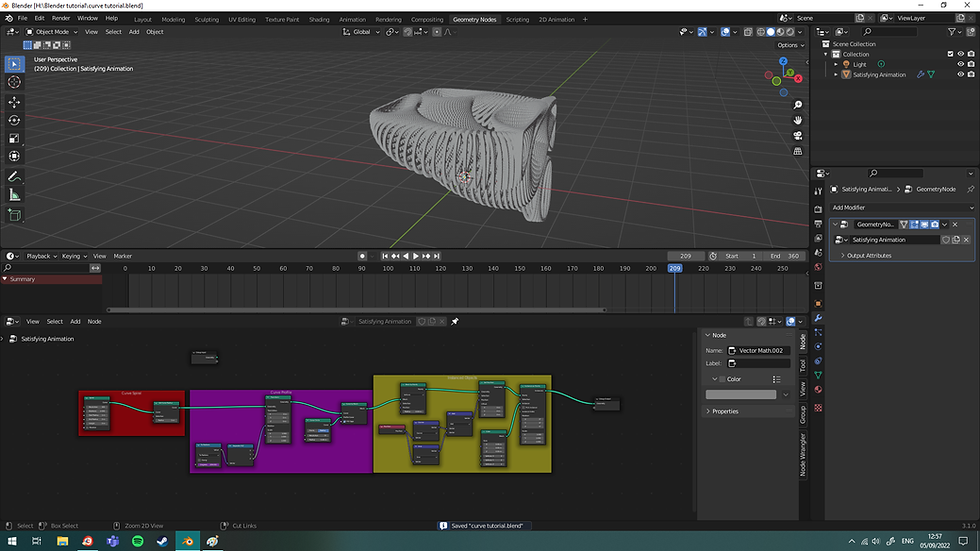
This was a great tutorial for me as it wasn't super basic but not overwhelmingly complicated either. It helped me to get to grips with the Node Editor functionality within Blender. I started out by messing around with different nodes to add meshes to each vertex/edge of my first shape, these could be any shapes but I used cubes.

Next I created a spiral spline which I added nodes to in order to convert it to mesh and thicken up the circumference. I added a cap to complete the mesh and attached nodes to control the rotation of the shape through the movement of timeline frames. I had to adjust the number of frames to 360 for a smooth looping animation. This means every frame there would be 1 degree of rotational motion applied.

After following the next steps of the tutorial, the mesh was split into rings of cubes which could be adjusted through the nodes.
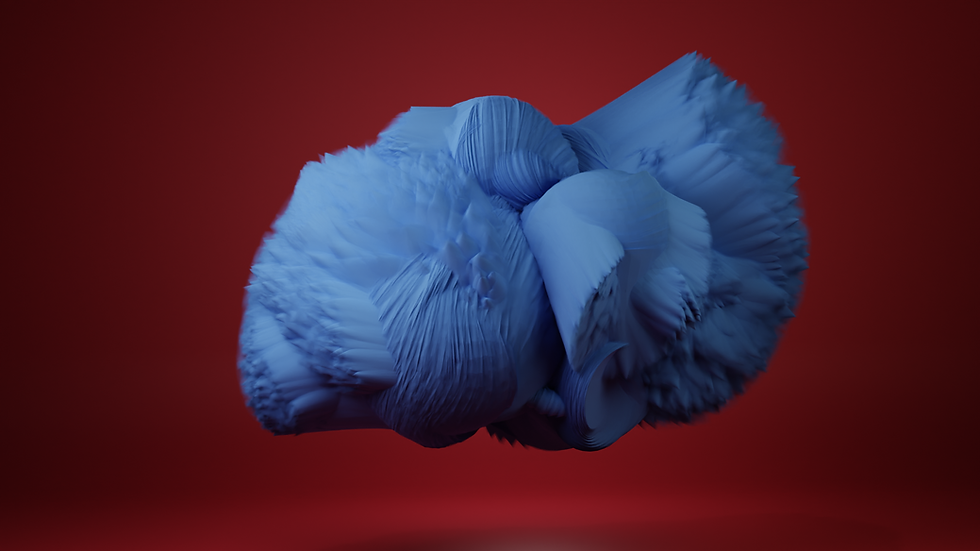
...Many many nodes later I had a working animation of cubes that would follow a spiral shape, I multiplied/duplicated the initial spiral node and varied the rotation, scale and other variables in order to create a more complex simulation. I also went into the shading space and plugged in a Colour Ramp which made the edges really stand out. I picked colours that I wanted and then created a basic infinity background using a mesh plane.

I lit the animation using basic 3point lighting and adjusted the hue of the background to contrast with my shapes. I added motion blur, dropped the background colour for added drama and set up my render settings. (Cycles GPU Compute PNG Sequence).

My computer took nearly three days to render 185 frames of my total 360 frame animation so I decided to stop it there and export the PNGs I'd rendered so far.

Finally I took my PNG sequence into Davinci Resolve to export as a MP4 file, I also exported a 1000x1000pxl GIF file in Media Encoder to trial for display on social media.
I decided to adjust the node 'formula' for a different result, I changed one of the instance mesh types from a cube to a cone, and made changes to colour pallets and my initial spiral shapes/scale/other properties. This drastically changed the output mesh animation!

My Top notes for this project were:
Play around with the node variations, saving multiple copies/outcomes as you go.
Tick Motion Blur in the camera render settings to get a really cool finish on the animation.
Alter the Render properties for your PC- Mine were too high/intense for my poor graphics card so adjust where possible! I ended up trying 200 samples rather than 250, GPU Compute for max power and try an Eevee render first to check you are happy before rendering a huge Cycles animation.
Organise Nodes into CTRL+J boxes with labels (N key).


Comments